
前言
最近呢xxx接到了一個任務,是需要把AOP打印出的請求日誌,給保存到數據庫。xxx一看這個簡單啊,不就是保存到數據庫嘛。一頓操作猛如虎,過了20分鐘就把這個任務完成了。xxx作為一個優秀的程序員,發現這樣同步保存會增加了接口的響應時間。這肯定難不倒xxx,當即決定使用多線程來處理這個問題。終於在臨近飯點完成了。準備邊吃邊欣賞自己的傑作時,外賣小哥臨時走來了一句,搞這樣麻煩幹啥,你加個@Async不就可以了。
實現一個精簡版的請求日誌輸出。
LogAspect
@Slf4j
@Aspect
@Component
public class LogAspect {

    @Pointcut("execution(* com.hxh.log.controller.*.*(..)))")
    public void saveLog(){}

    @Before("saveLog()")
    public void saveLog(JoinPoint joinPoint) {
        // 獲取HttpServletRequest
        ServletRequestAttributes attributes = (ServletRequestAttributes) RequestContextHolder.getRequestAttributes();
        assert attributes != null;

        HttpServletRequest request = attributes.getRequest();

        MethodSignature signature = (MethodSignature) joinPoint.getSignature();

        //獲取請求參數
        String[] argNames = signature.getParameterNames();
        Object[] args = joinPoint.getArgs();

        log.info("請求路徑:{},請求方式:{},請求參數:{},IP:{}",request.getRequestURI(),
                request.getMethod(),
                getRequestParam(argNames,args),
                request.getRemoteAddr());
    }

    /**
     * 組裝請求參數
     * @param argNames 參數名稱
     * @param args 參數值
     * @return 返回JSON串
     */
    private String getRequestParam(String[] argNames, Object[] args){
        HashMap<String,Object> params = new HashMap<>(argNames.length);
        if(argNames.length > 0 && args.length > 0){
            for (int i = 0; i < argNames.length; i++) {
                params.put(argNames[i] , args[i]);
            }
        }
        return JSON.toJSONString(params);
    }

}
LoginController
@RestController
public class LoginController {

    @PostMapping("/login")
    public String login(@RequestBody LoginForm loginForm){
        return loginForm.getUsername() + ":登錄成功";
    }

}
測試一下
將項目啟動然後測試一下。

控制檯已經打印出了請求日誌。

模擬入庫
將日誌保存到數據庫。
LogServiceImpl
@Slf4j
@Service
public class LogServiceImpl implements LogService {

    @Override
    public void saveLog(RequestLog requestLog) throws InterruptedException {
        // 模擬入庫需要的時間
        Thread.sleep(2000);
        log.info("請求日誌保存成功:{}",requestLog);
    }
}
改造一下LogAspect添加日誌入庫
@Before("saveLog()")
public void saveLog(JoinPoint joinPoint) throws InterruptedException {
    // 獲取HttpServletRequest
    ServletRequestAttributes attributes = (ServletRequestAttributes) RequestContextHolder.getRequestAttributes();
    assert attributes != null;

    HttpServletRequest request = attributes.getRequest();

    MethodSignature signature = (MethodSignature) joinPoint.getSignature();

    //獲取請求參數
    String[] argNames = signature.getParameterNames();
    Object[] args = joinPoint.getArgs();

    log.info("請求路徑:{},請求方式:{},請求參數:{},IP:{}",request.getRequestURI(),
            request.getMethod(),
            getRequestParam(argNames,args),
            request.getRemoteAddr());

    // 日誌入庫
    RequestLog requestLog = new RequestLog();
    requestLog.setRequestUrl(request.getRequestURI());
    requestLog.setRequestType(request.getMethod());
    requestLog.setRequestParam(request.getRequestURI());
    requestLog.setIp(request.getRemoteAddr());
    logService.saveLog(requestLog);

}
測試一下
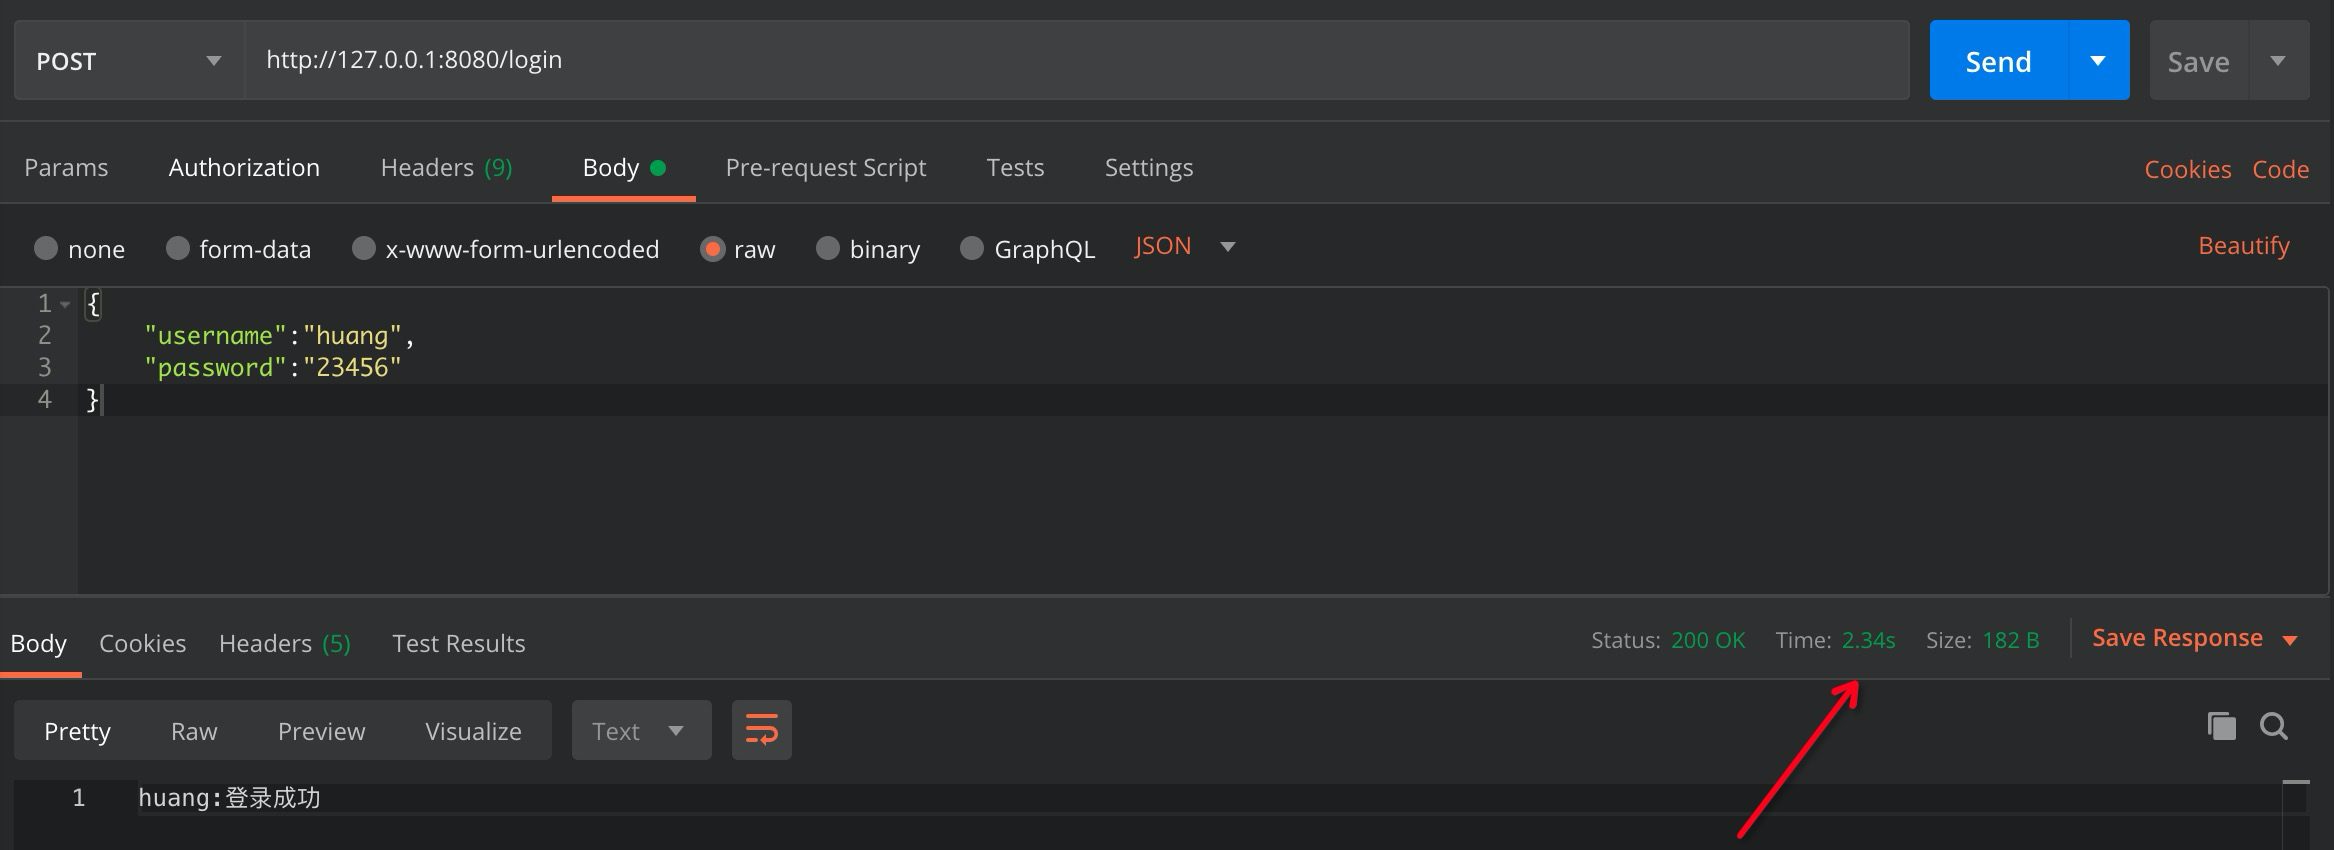
控制檯已經打印出了請求日誌。

使用@Async
由於保存日誌消耗了2s,導致接口的響應時間也增加了2s。這樣的結果顯然不是我想要的。所以我們就按外賣小哥的方法,在LogServiceImpl.saveLog()上加一個@Async試試。
@Slf4j
@Service
public class LogServiceImpl implements LogService {

    @Async
    @Override
    public void saveLog(RequestLog requestLog) throws InterruptedException {
        // 模擬入庫需要的時間
        Thread.sleep(2000);
        log.info("請求日誌保存成功:{}",requestLog);
    }
}
重新啟動項目測試一下。
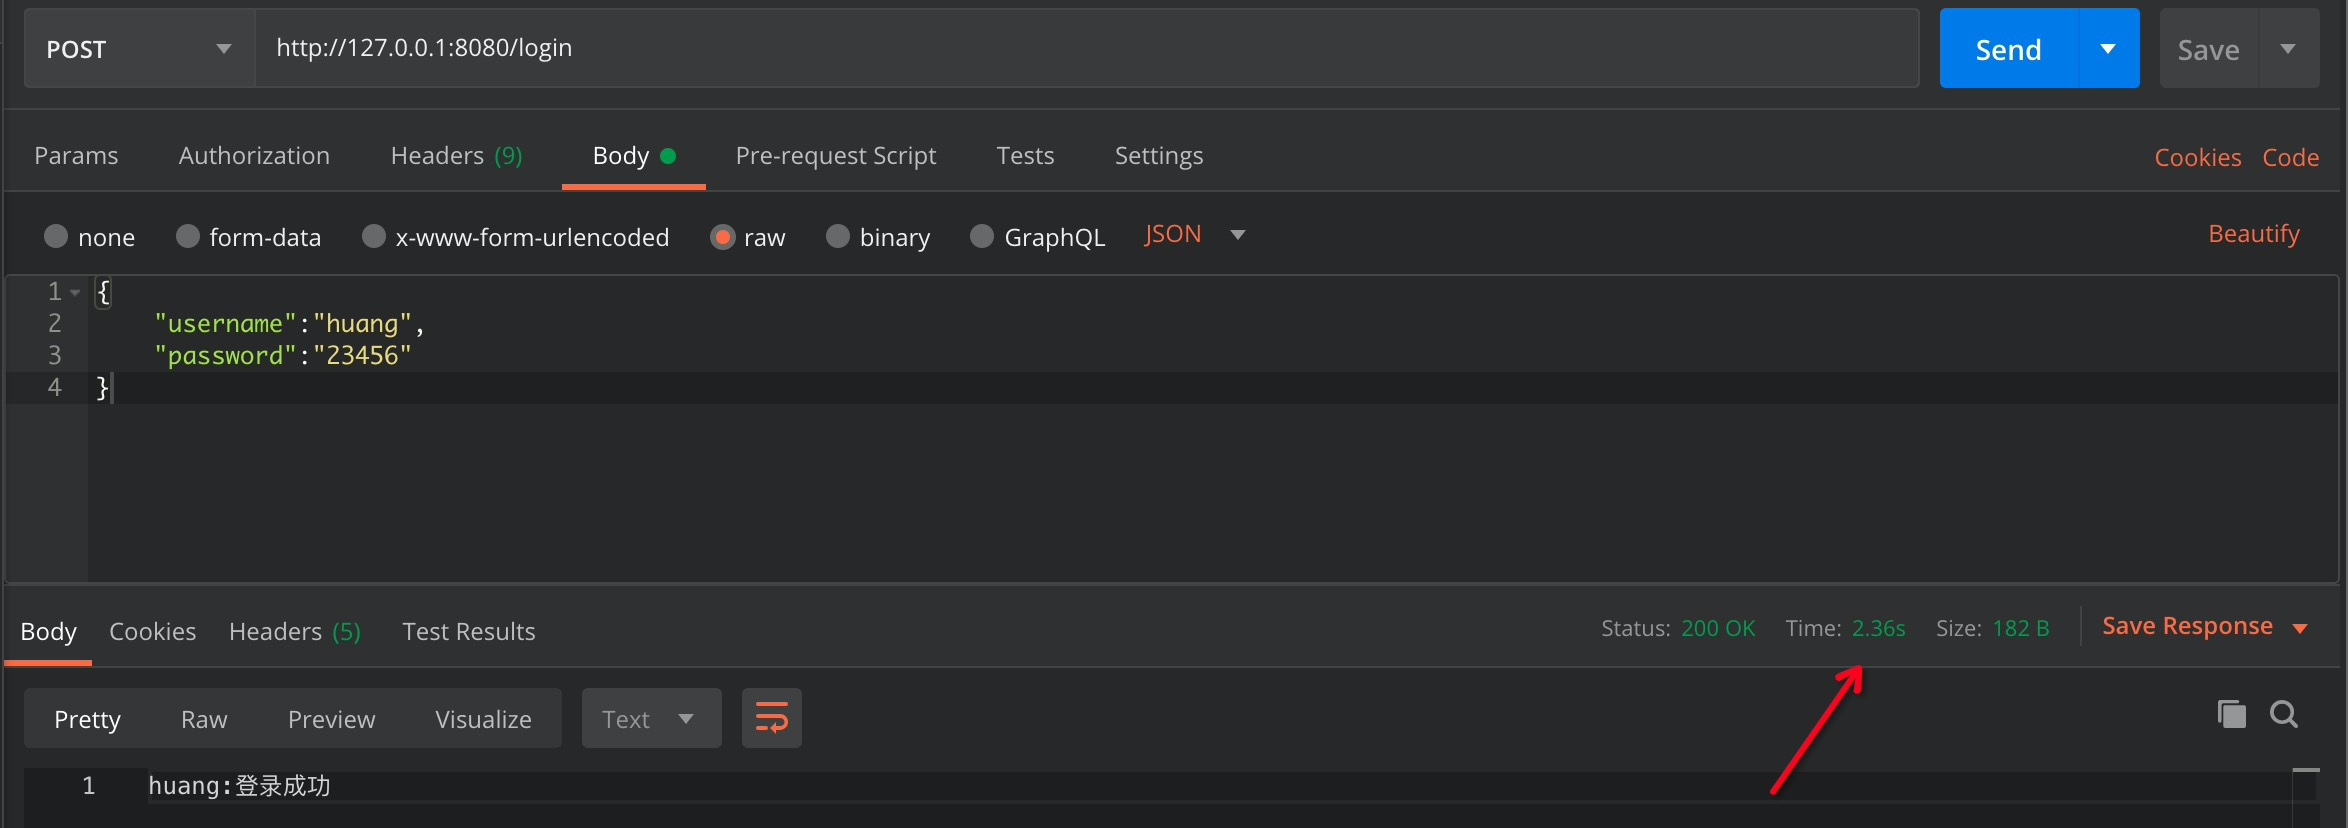
發現耗時還是2s多,這外賣小哥在瞎扯吧,於是轉身進入了baidu的知識海洋遨遊,發現要在啟動類加個@EnableAsync。
@EnableAsync
@SpringBootApplication
public class LogApplication {

    public static void main(String[] args)  {
        SpringApplication.run(LogApplication.class, args);
    }

}
啟動一下項目再來測試一下。

這下可好啟動都失敗了。

不要慌,先看一眼錯誤信息。因為有些service使用了CGLib這種動態代理而不是JDK原生的代理,導致問題的出現。所以我們需要給@EnableAsync加上proxyTargetClass=true。
@Slf4j
@EnableAsync(proxyTargetClass=true)
@SpringBootApplication
public class LogApplication {

    public static void main(String[] args)  {
        SpringApplication.run(LogApplication.class, args);
    }

}
重新啟動下再測試一下。

這下就成功了嘛,接口響應耗時變成了324ms,已經不像之前消耗2s那樣了。

有返回值的方法
由於saveLog()是沒有返回值,假如碰到有返回值的情況該咋辦呢?使用Future<T>即可。
@Slf4j
@Service
public class LogServiceImpl implements LogService {

    @Async
    @Override
    public Future<Boolean> saveLog(RequestLog requestLog) throws InterruptedException {
        // 模擬入庫需要的時間
        Thread.sleep(2000);
        log.info("請求日誌保存成功:{}",requestLog);
        return new AsyncResult<>(true);
    }
}
配置線程池
既然是異步方法,肯定是用其他的線程執行的,當然可以配置相應的線程池了。
@Configuration
public class ThreadConfig {

    /**
     * 日誌異步保存輸出線程池
     * @return 返回線程池
     */
    @Bean("logExecutor")
    public Executor taskExecutor() {
        ThreadPoolTaskExecutor executor = new ThreadPoolTaskExecutor();
        executor.setCorePoolSize(5);
        executor.setMaxPoolSize(10);
        executor.setQueueCapacity(200);
        executor.setKeepAliveSeconds(60);
        executor.setThreadNamePrefix("logExecutor-");
        executor.setRejectedExecutionHandler(new ThreadPoolExecutor.CallerRunsPolicy());
        executor.setWaitForTasksToCompleteOnShutdown(true);
        executor.setAwaitTerminationSeconds(60);
        return executor;
    }
}在使用@Async的時候指定對應的線程池就好了。
@Slf4j
@Service
public class LogServiceImpl implements LogService {

    @Override
    @Async("logExecutor")
    public Future<Boolean> saveLog(RequestLog requestLog) throws InterruptedException {
        // 模擬入庫需要的時間
        Thread.sleep(2000);
        log.info("請求日誌保存成功:{}",requestLog);
        return new AsyncResult<>(true);
    }
}
注意的點
- 使用之前需要在啟動類開啟
@EnableAsync。 - 只能在自身之外調用,在本類調用是無效的。
- 所有的類都需要交由Spring容器進行管理。
總結
@Async標註的方法,稱之為異步方法;這些方法將在執行的時候,將會在獨立的線程中被執行,調用者無需等待它的完成,即可繼續其他的操作。
雖然自己維護線程池也是可以實現相應的功能,但是我還是推薦使用SpringBoot自帶的異步方法,簡單方便,只需要@Async和@EnableAsync就可以了。
結尾
為什麼外賣小哥能看懂我寫的代碼?難道我以後也要去xxx?
如果覺得對你有幫助,可以多多評論,多多點贊哦,也可以到我的主頁看看,說不定有你喜歡的文章,也可以隨手點個關注哦,謝謝。
我是不一樣的科技宅,每天進步一點點,體驗不一樣的生活。我們下期見!