小菜剛學習了 Isolate 的部分基本用法,今天繼續嘗試 compute 及其使用方式;
Isolate
小菜之前瞭解到 ReceivePort 和 SendPort 是成對出現的,是 Isolate 之間唯一的消息通訊的方式;
ReceivePort
abstract class ReceivePort implements Stream {
  external factory ReceivePort();

  external factory ReceivePort.fromRawReceivePort(RawReceivePort rawPort);

  StreamSubscription listen(void onData(var message),
      {Function onError, void onDone(), bool cancelOnError});

  void close();

  SendPort get sendPort;
}簡單分析源碼可得,ReceivePort 中通過 get 獲取一個 SendPort 對象,通過 SendPort 發送消息到 ReceivePort 中,之後再通過 listen 進行監聽;
SendPort
abstract class SendPort implements Capability {
  void send(var message);

  bool operator ==(var other);

  int get hashCode;
}
SendPort 內容很簡單,主要是通過 send 方法向 ReceivePort 傳遞消息;
Compute
小菜嘗試了 Isolate 的基本用法,需要使用 ReceivePort 和 SendPort 來進行消息通訊;而 Flutter 提供了更簡單的 Compute Function;
源碼分析
Future<R> compute<Q, R>(isolates.ComputeCallback<Q, R> callback, Q message, { String debugLabel }) async {
  ...
  final Isolate isolate = await Isolate.spawn<_IsolateConfiguration<Q, FutureOr<R>>>(_spawn,
    _IsolateConfiguration<Q, FutureOr<R>>(
      callback, message,
      resultPort.sendPort,
      debugLabel, flow.id,
    ),
    errorsAreFatal: true,
    onExit: resultPort.sendPort,
    onError: errorPort.sendPort,
  );
  final Completer<R> result = Completer<R>();
  errorPort.listen((dynamic errorData) {
    ...
  });
  resultPort.listen((dynamic resultData) {
    ...
  });
  await result.future;
  Timeline.startSync('$debugLabel: end', flow: Flow.end(flow.id));
  resultPort.close();
  errorPort.close();
  isolate.kill();
  Timeline.finishSync();
  return result.future;
}簡單瞭解源碼,Compute 實際是對 Isolate 的封裝,Compute 是通過 Isolate.spawn() 方式來處理 Isolate 其中 compute() 方法中在通訊結束後自動進行 Isolate.kill() 銷燬;且 compute() 直接返回內容,無需考慮 listen 監聽等;
案例嘗試
compute() 包含兩個必填參數,第一個是定義新的 Isolate 的核心執行方法,第二個是函數對應的參數,可以是多個任意類型;因為 compute 實際是通過 Isolate.spawn() 來處理的,則對應的耗時方法也需要是在頂級 main 函數中或 static 方法;
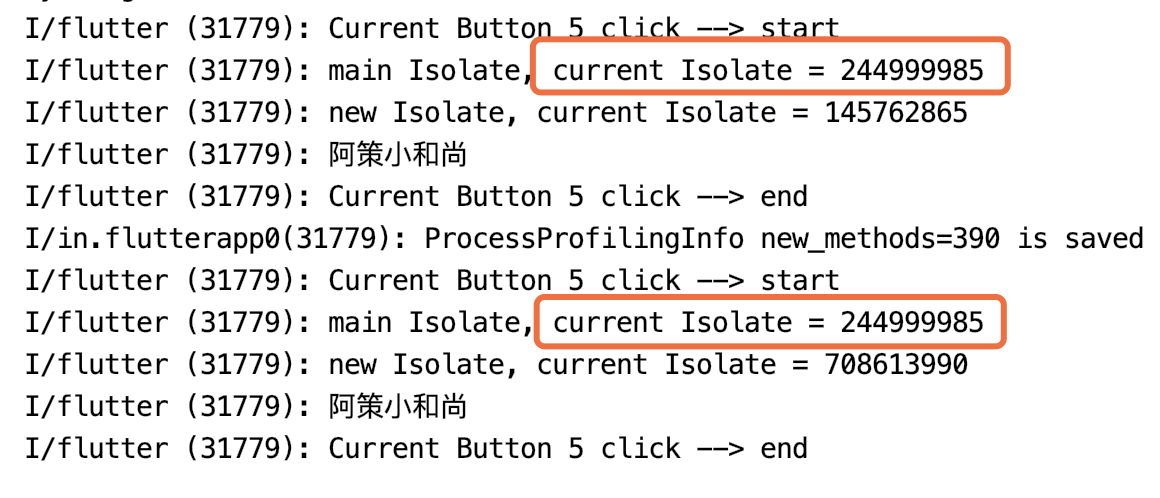
_loadIsolateDate04() async {
  print('main Isolate, current Isolate = ${Isolate.current.hashCode}');
  print(await compute(getName, ''));
}

static String getName(String name) {
  print('new Isolate, current Isolate = ${Isolate.current.hashCode}');
  sleep(Duration(seconds: 2));
  return '阿策小和尚';
}
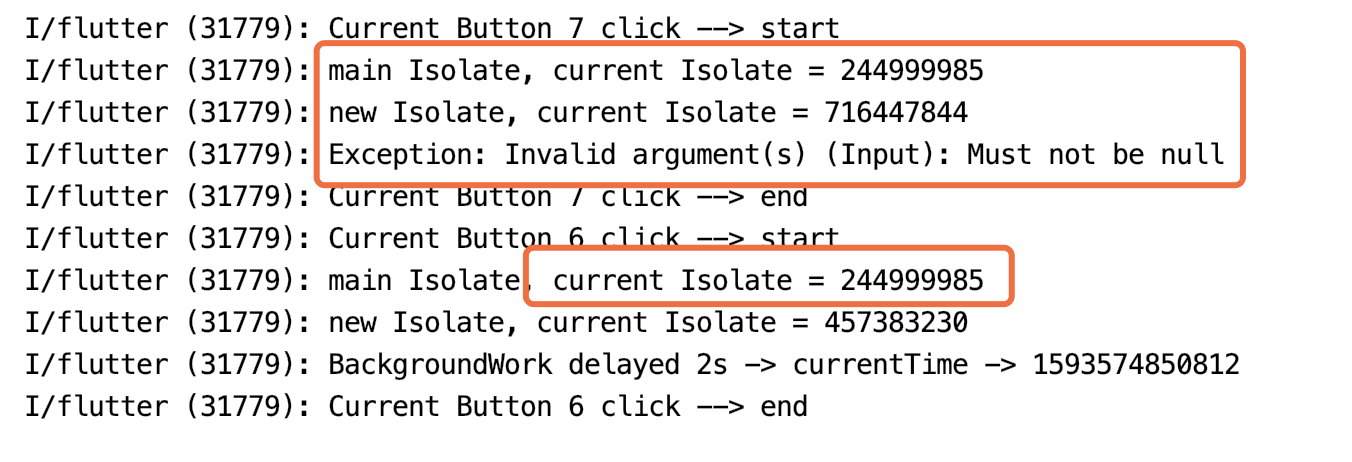
對於 compute() 的異常處理,可以通過 try-catch 進行捕獲;
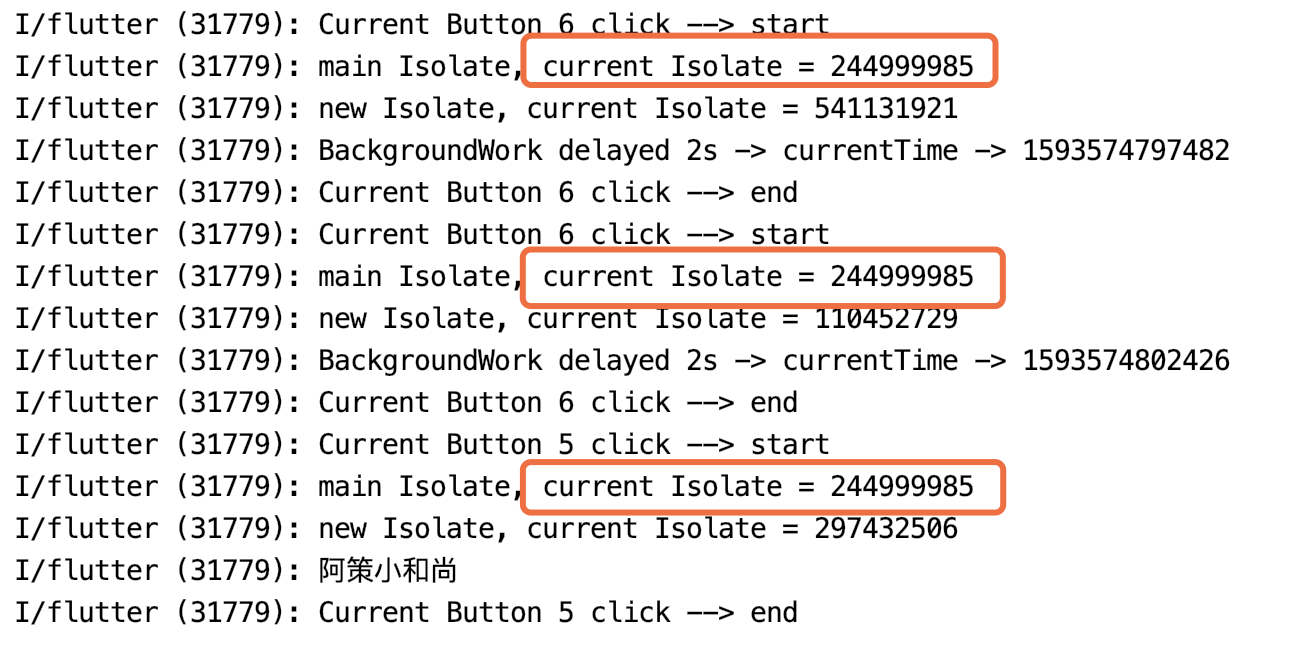
_loadIsolateDate05(bool isError) async {
  print('main Isolate, current Isolate = ${Isolate.current.hashCode}');
  try {
    print(await compute(_backgroundWork3, isError));
  } catch (e) {
    print(e);
  }
}

static _backgroundWork3(bool isError) async {
  print('new Isolate, current Isolate = ${Isolate.current.hashCode}');
  if (!isError) {
    return await Future.delayed(Duration(seconds: 2), () {
      return 'BackgroundWork delayed 2s -> currentTime -> ${DateTime.now().millisecondsSinceEpoch}';
    });
  } else {
    return await Future.error(ArgumentError.notNull('Input'));
  }
}
小菜對 Isolate 的源碼還未深入研究,僅停留在應用層;如有錯誤請多多指導!
來源: 阿策小和尚