資料庫設定
登入MySQL
mysql -u root -p
創建資料庫
CREATE DATABASE wordpress;
本地資料庫請使用localhost
CREATE USER 'wordpressuser'@'localhost' IDENTIFIED BY 'pw1234';
GRANT ALL PRIVILEGES ON wordpress.* TO 'wordpressuser'@'localhost';
FLUSH PRIVILEGES;
遠端資料庫請使用%
CREATE USER 'wordpressuser'@'%' IDENTIFIED BY 'pw1234';
GRANT ALL PRIVILEGES ON wordpress.* TO 'wordpressuser'@'%';
FLUSH PRIVILEGES;
Install WordPress
安裝php-gd套件,並重啟httpd服務。
sudo yum install php-gd
sudo service httpd restart
下載WordPress最新版,並解壓縮。看你要將解壓縮後的WordPress放哪,個人習慣會移至/var/www/下。
wget http://wordpress.org/latest.tar.gz
tar xzvf latest.tar.gz
到wordpress目錄下wp-content內新增uploads資料夾
mkdir /var/www/html/wp-content/uploads
Configure WordPress
WordPress設定config,將原本的wp-config-sample.php複製為wp-config.php
cp wp-config-sample.php wp-config.php
vi wp-config.php
編輯config檔案,設定資料庫HOST、DB_NAME、USER與PASSWORD。
// ** MySQL settings - You can get this info from your web host ** //
/** The name of the database for WordPress */
define('DB_NAME', 'wordpress');

/** MySQL database username */
define('DB_USER', 'wordpressuser');

/** MySQL database password */
define('DB_PASSWORD', 'password');
Complete Installation Through the Web Interface
瀏覽您的IP或DOMAIN
http://server_domain_name_or_IP
會看到以下畫面,輸入相關欄位會即可進行安裝。
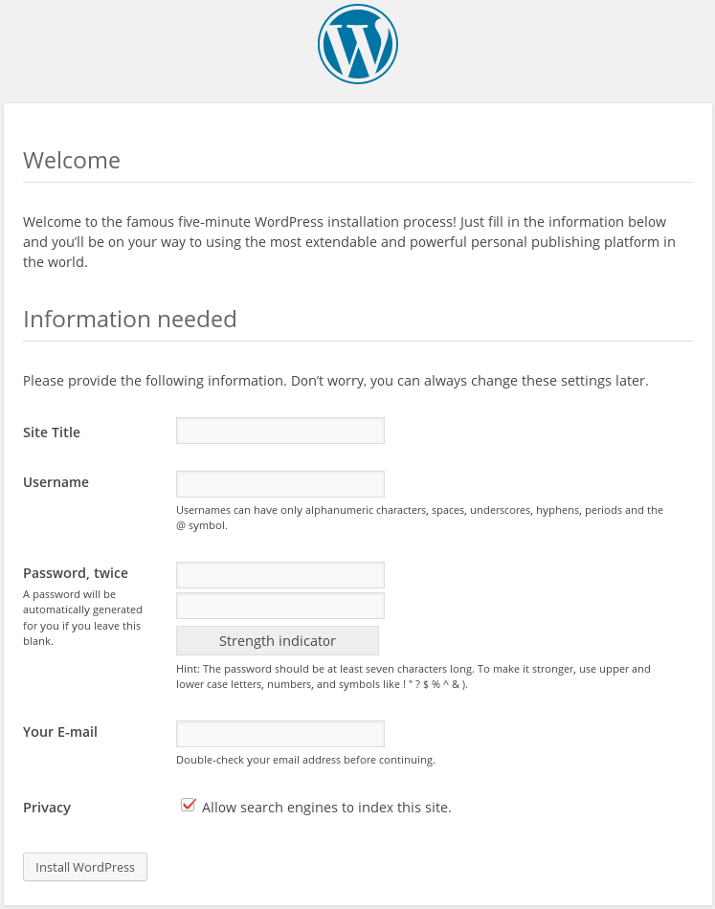
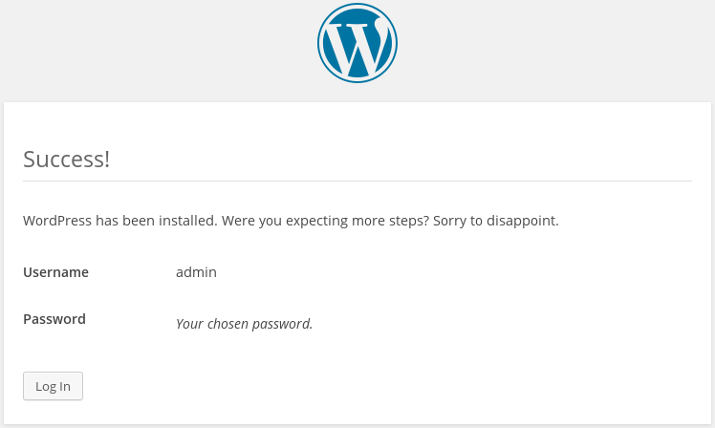
安裝後,即可登入
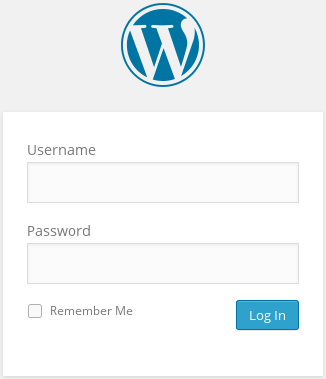
登入畫面,使用您剛剛設定之帳號與密碼進行登入
WordPress DashBoard畫面請參考
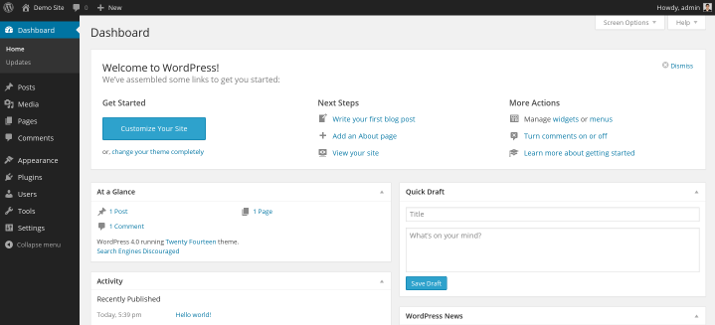
後面就不贅述,之後會介紹更多關於WordPress Plugins等等相關教學。

